We hiked the 500-mile, 800-km Camino Francés from Saint-Jean to Santiago de Compostela in three parts, walking roughly two weeks each year in May 2013, June 2014, and June 2015. It took us a total of 38 walking days.
Ask 100 people how they did their Camino and you’ll get 100 answers. This is how we did ours. I hope some of these ideas will work for you, but many may not, and that’s ok too. Read ideas from lots of people and do your Camino your way.
If you’d like to read the story from the beginning, you can start with the first post.
Links to sections below:
- Transportation: Getting There and Away
- Transportation: Getting Around
- Gear and Clothing
- Money
- Technology: Internet, Phones, and Cameras
- Guide Books
- Routes and Distances
- Training
- Entertainment
- Dangers and Annoyances
- A Typical Day
Transportation: Getting There and Away
 Getting to Saint-Jean-Pied-de-Port, France (SJPdP) is a bit tricky. Some people fly round-trip to Madrid and then make their way on land to SJPdP, which is still a five-hour drive away, but I think there’s a better way.
Instead of a round-trip ticket, we got a “multi-city” (also called “multi-stop” or “open jaw”) ticket that went from Dallas to Paris and then returned from Madrid to Dallas. This kind of ticket is usually about the same price as a round-trip ticket, as opposed to twice the price for two one-way tickets. Look for an option to book Multi-City tickets on the airlines’ “advanced search” pages.
We flew on American Airlines non-stop from Dallas/Fort Worth to Paris – Charles de Gaulle (CDG) and then on EasyJet non-stop from Paris CDG to Biarritz, France. We chose EasyJet because they were one of the few airlines that flew out of Paris CDG as opposed to Paris Orly, which would have required an airport transfer across the city. We flew back from Madrid to Dallas non-stop on American Airlines again.
Other thoughts
- Cheaper flights can sometimes be found by flying through the UK, often via London. Be careful about which airports you’re flying in and out of if you go through cities like London or Paris. It’s much easier if you can avoid airport transfers, but if you can’t avoid them, be sure to allow plenty of extra time.
- Discount airlines like EasyJet and Ryan Air often have a myriad of extra fees for things like printing tickets at the airport and not pre-paying for checked luggage. Check their rules carefully.
- Check the luggage rules for all airlines you plan on flying with — both checked luggage and carry-on. Measure your backpack and compare it to the maximum carry-on size allowed. Mine was well over the limit so I had to check it but Kathey was able to carry hers on. We transferred all of the contents from my pack to hers (plus a throwaway bag), just to reduce the hassle if my pack was lost or delayed. I then put my pack in a hard-shell suitcase that I bought from a local shop in Dallas for $20. It was beat up and missing a handle and a wheel, but it closed, and worked perfectly. When we arrived in Europe, I left it with the people at the Lost Luggage counter who were happy to take it. On the return flight I was less concerned so I just had it wrapped in plastic at the Madrid airport, and it made it back without a problem. I did this trick all three years and it worked out great. If your pack is over the limit, you can try taking it on, but you may be forced to check it at the gate without any extra protection around it.
- Some airlines allow walking poles to be carried on, some don’t, and some say they don’t but sometimes allow it anyway. Again, you may be forced to check them at the gate so have a backup plan in mind. For flights starting or ending in the USA, the TSA only allows them in checked baggage.
- Allow extra time when flying back from the Madrid airport. I’d suggest arriving at the airport three hours before your flight. The airport is huge, and passport control can sometimes take a long time to get through (I’ve seen the entire room packed, and I’ve seen it empty — you never know). The gates for terminal 4 (which you’ll probably fly out of) are in a separate “satellite” terminal, and you’ll take a short train ride to get there. You can’t get lost though — there are signs with colored paths leading the way, and they even tell you how many minutes until you get to your gate. But as I said, it’s a huge airport and it takes time to get through all the security.
Transportation: Getting Around
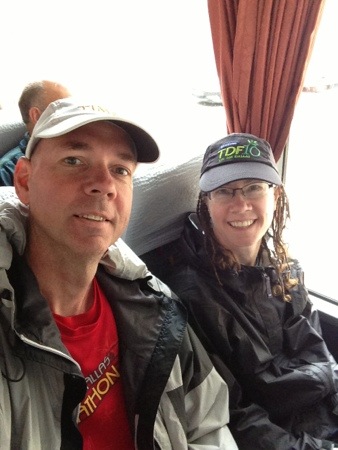 After flying into Biarritz, France, we were picked up in front of the airport by Express Bourricot in their shared van for the one-hour ride to SJPdP. It was quick and easy, and I booked it ahead of time via email. There are also buses and trains serving the same route. Check the SNCF web site for schedules.
In Spain, the main train company is Renfe.
For buses, you’ll usually use ALSA. Other bus companies with routes near Santiago are Monbus and Empresa.
For local buses or taxis between small towns on the Camino, check with the albergue where you’re staying and they’ll often have all the info you need, including bus and train schedules.
Other thoughts
- The links in this post for SNCF, Renfe, ALSA, and Empresa are to the English pages on their sites. Monbus is currently only in Spanish. The Chrome web browser makes translating web pages easy — just right-click in a blank part of any web page and select “Translate to English”.
- You can buy tickets directly on each company’s web site, or if it’s not a busy time of year, you can usually wait and just buy them at the station.
- When paying for tickets online, particularly on Renfe’s and ALSA’s sites, many people run into problems with the credit card transaction because the sites often block cards issued outside of Spain. Fortunately these sites now accept PayPal transactions, and many people find that to be much easier.
- The web sites for Renfe and ALSA only show schedules for the next month or two at a time, so if you can’t find a schedule for the day you want, try picking the same day of the week but not so far in the future. It’ll at least give you an idea, and then you can check back again later to make sure it hasn’t changed for the actual day you want.
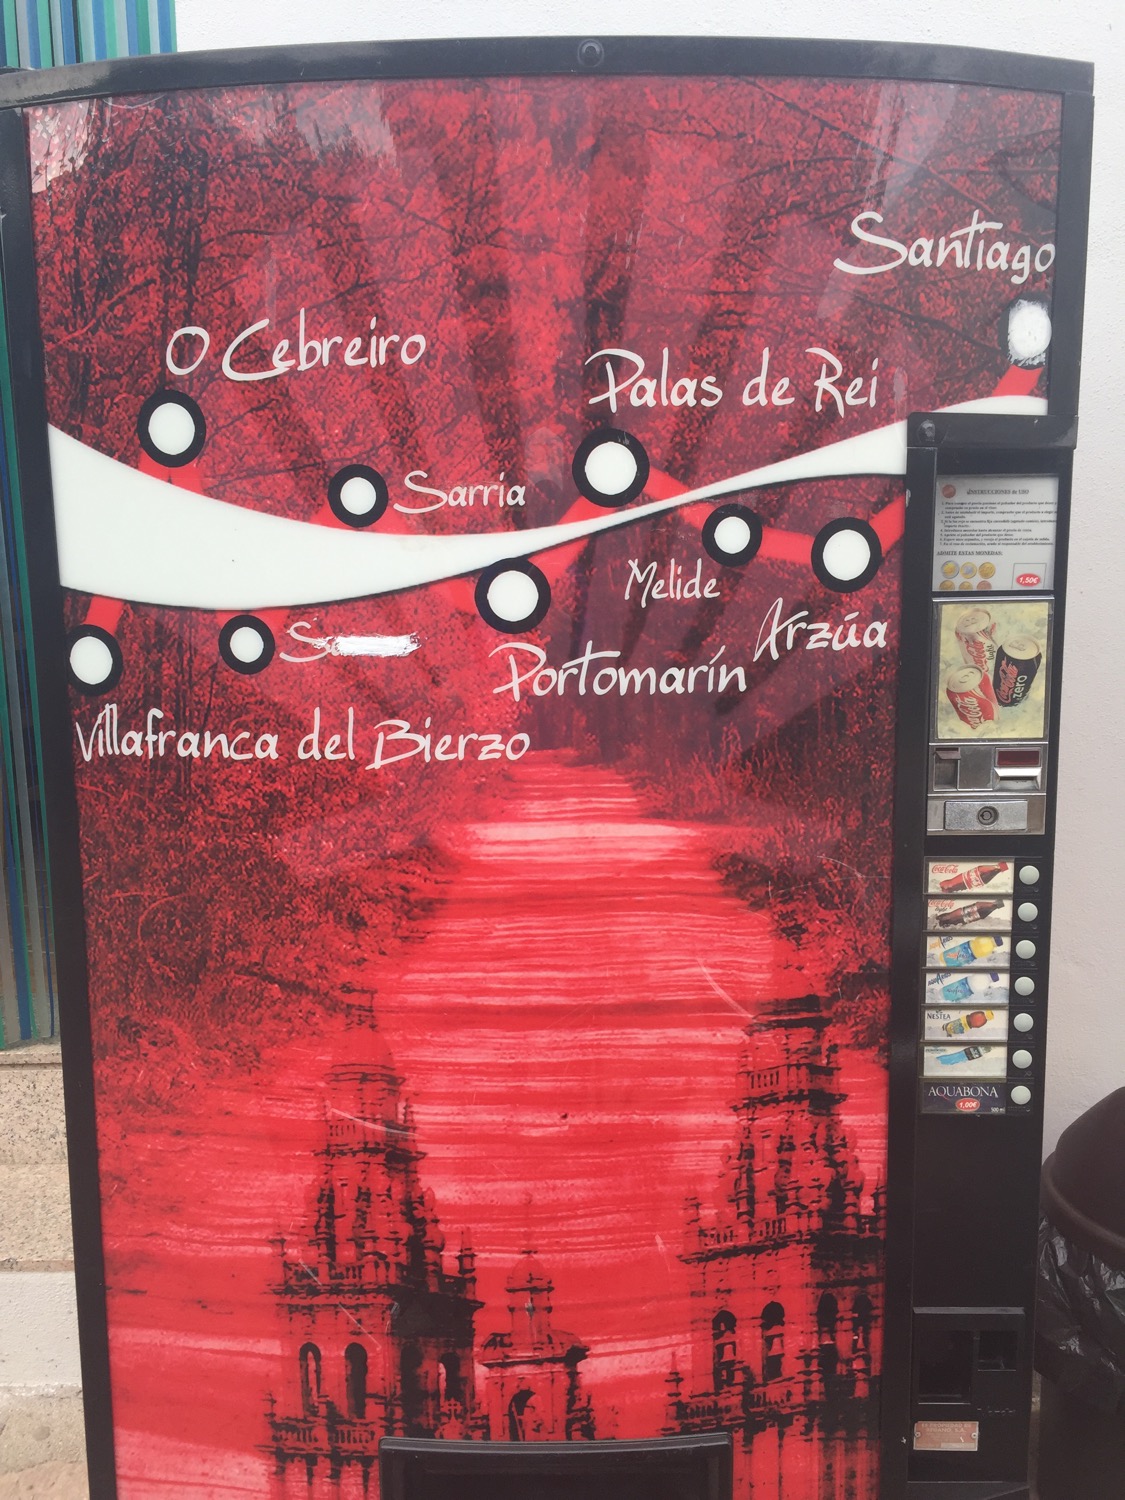
Starting from Sarria
 If you fly to Madrid, you can take a six-hour Renfe train from Madrid-Chamartin train station (a short taxi ride from Madrid airport) directly to Sarria (route map). You can then take a Renfe train from Santiago back to Madrid airport.
If you fly to Santiago, there’s a two-hour Renfe train from there to Sarria with a change of trains in Ourense (route map).
There’s also a two-hour bus on Empresa from Santiago to Lugo and then a half-hour bus on Monbus from Lugo to Sarria.
Backpacks
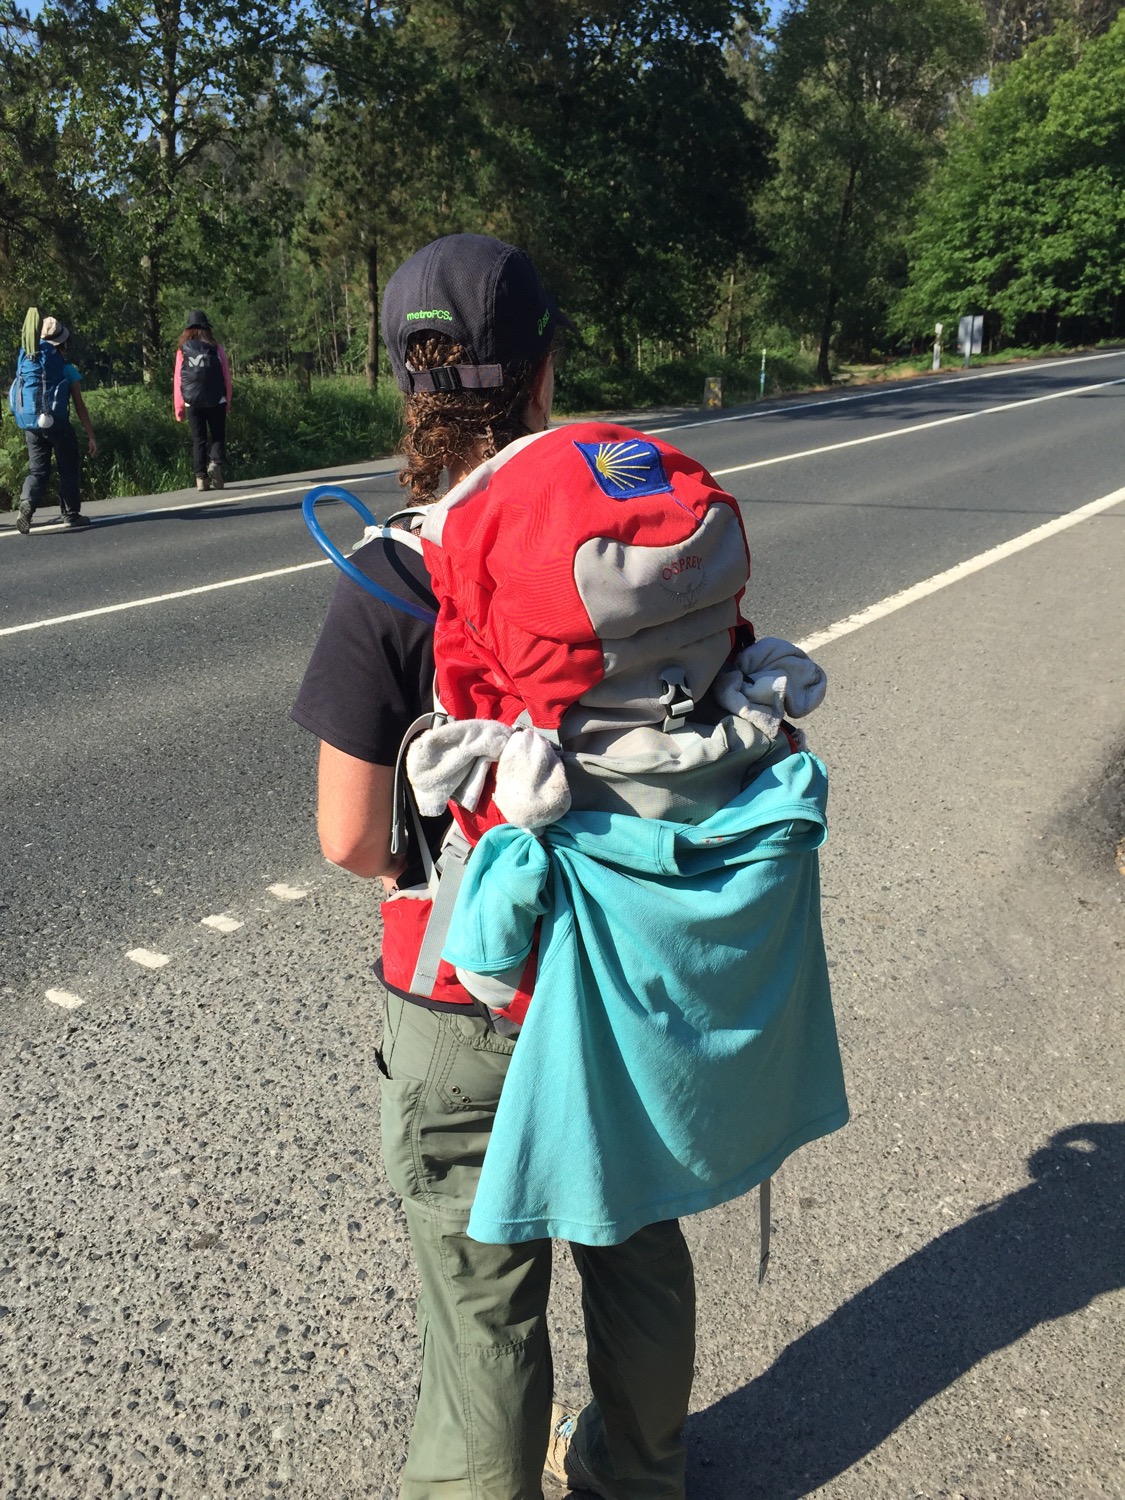 I took an REI Flash 62 pack and Kathey took an Osprey Jib 35 pack, which is actually a “youth” pack but it fit her better than the “adult” packs. We loved both packs and they served us well throughout the Camino.
I suggest going to REI or some other backpacking store that has specialists that can take time to measure your back and get you fitted with the perfect pack. When thinking about pack sizes, remember there are two primary things: 1) the height of the back panel, and 2) the volume that it holds. Packs come in different sizes, and often have an adjustable back that allows the panel to be lengthened or shortened within a particular range to fit the person wearing it. This is usually done by the person helping you in the store, and then never needs adjusting again. It’s also what really determines whether a pack fits you, and it therefore also determines the size of the pack when figuring out whether it can be taken on a plane as carry-on luggage. The volume of the pack is usually the number in its name. My pack is a “62”, meaning it holds 62 liters. That’s probably a bit on the large side, but remember that it’s mostly just air until you put something in it. ;-) I liked having the extra room because it made finding things easier, and the extra fabric used for the main pocket usually doesn’t change the weight of the pack very much.
Most packs have a hidden metal tube that runs around the perimeter in an upside-down “U” shape, allowing weight to be distributed down to the hips rather than being carried entirely on the shoulders. (Many older packs had the frame on the outside, but “inner frame” packs are more common now.) Some “ultra-light” packs do away with the metal to get the weight down, and often have a hip belt with smaller pads or no pads at all. I tried one of these, but it kept sliding down my back and the whole weight ended up pulling on my shoulders. I found that a pack with a frame, large hip belt pads, and a large lumbar pad worked better for me. The lumbar pad in particular made a huge difference — it’s usually a thick pad that sits near the base of your spine, and when everything’s adjusted correctly, is the part that carries a lot of the weight near your hips. When I tightened the hip belt as much as I could, these two parts worked together to carry the majority of the load. Then it was just a matter of adjusting the shoulder straps to control how much of the weight is carried by the shoulders. Ideally you should be able to loosen the shoulder straps all the way, until the entire weight is on just your hips, and then tighten the straps to pull some of that weight back up onto the shoulders.
Sleeping Bags
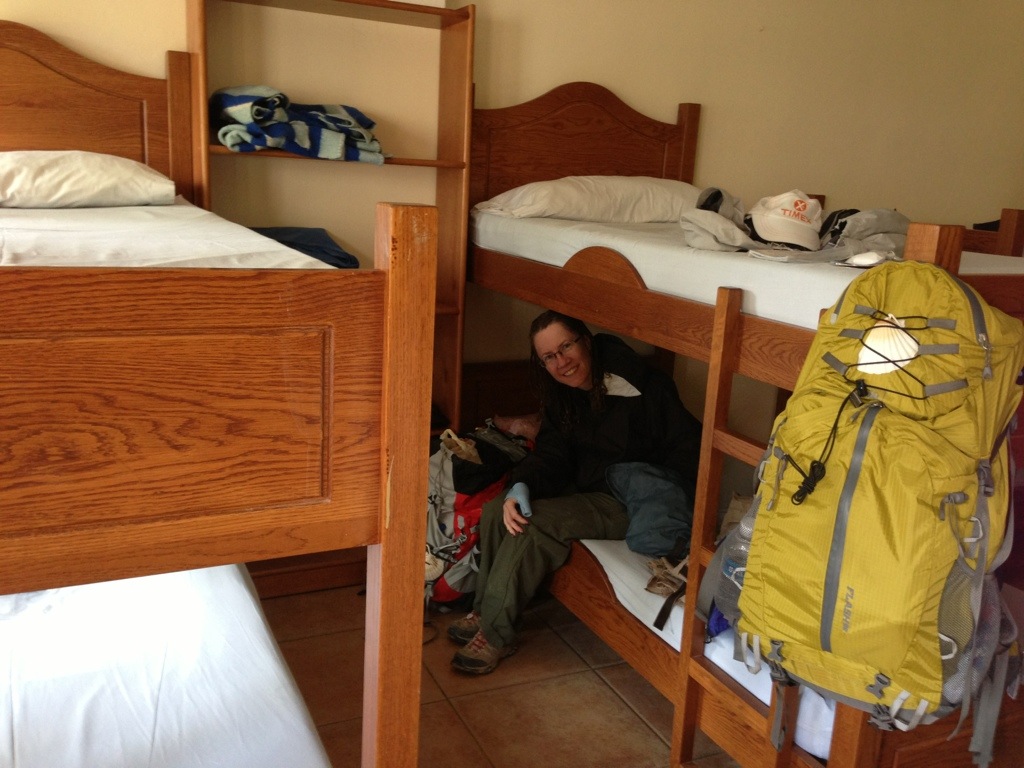 Some people say they don’t need them but we loved having ours and we took them all three years. We usually saw clean sheets on the beds at the albergues but a couple of them only had mattress protectors that obviously weren’t cleaned between pilgrims. Also, most of the albergues we visited had radiators but didn’t turn them on — maybe they do during the winter though. They usually had blankets as well but at least one didn’t (Roncesvalles). More than anything else though, at the end of a long day it was really nice to crawl into our own bedding that we felt clean and comfortable in. Since you’ll always be sleeping inside on a bed though, you can get a fairly lightweight bag — I got one from REI that had more padding on top and less on the bottom, where the mattress is.
Ear plugs and an eye mask
Sleeping in a room full of people means there will usually be at least one person snoring, and unless that person is you, you’ll probably want ear plugs. I’d suggest trying them out at home before you go, and try sleeping with them in as well — it’s a bit strange at first, especially if you sleep on your side, but I got used to them. I kept an extra pair in my pocket at night, so that if one fell out of my ear when I rolled over, I didn’t have to go searching through the bedding for it in the dark. They come in different sizes so don’t give up if you have trouble getting them to fit.
An eye mask is good if you want to take a nap before it gets dark, or for the times when someone’s rummaging through their pack with a flashlight and lighting up the room. (Try to get all your stuff ready before the lights go out, and avoid bringing crinkly, noisy, plastic bags.)
Water
 I used two half-liter plastic water bottles to reduce weight and simplify things. Water bottles are sold everywhere and can be refilled with clean, safe water from any tap, including drinking fountains along the Camino (except for a very few that are marked as non-potable).
Most backpacks have side pockets that look like they should hold water bottles, but usually either the bottles don’t fit when the pack is full or they’re too hard to reach when the pack is on. I got a 0.75 liter insulated water bottle sleeve and attached it to the front of one of the pack’s shoulder straps so the bottle was always at chest level and didn’t swing when I walked. I then put the second bottle in my pack and swapped them out when needed. I put snacks in the side pockets instead.
Camelbaks are fine too though, and Kathey liked using hers. It’s a bit more weight, but she liked having the drinking tube always available on her shoulder.
Rain Gear
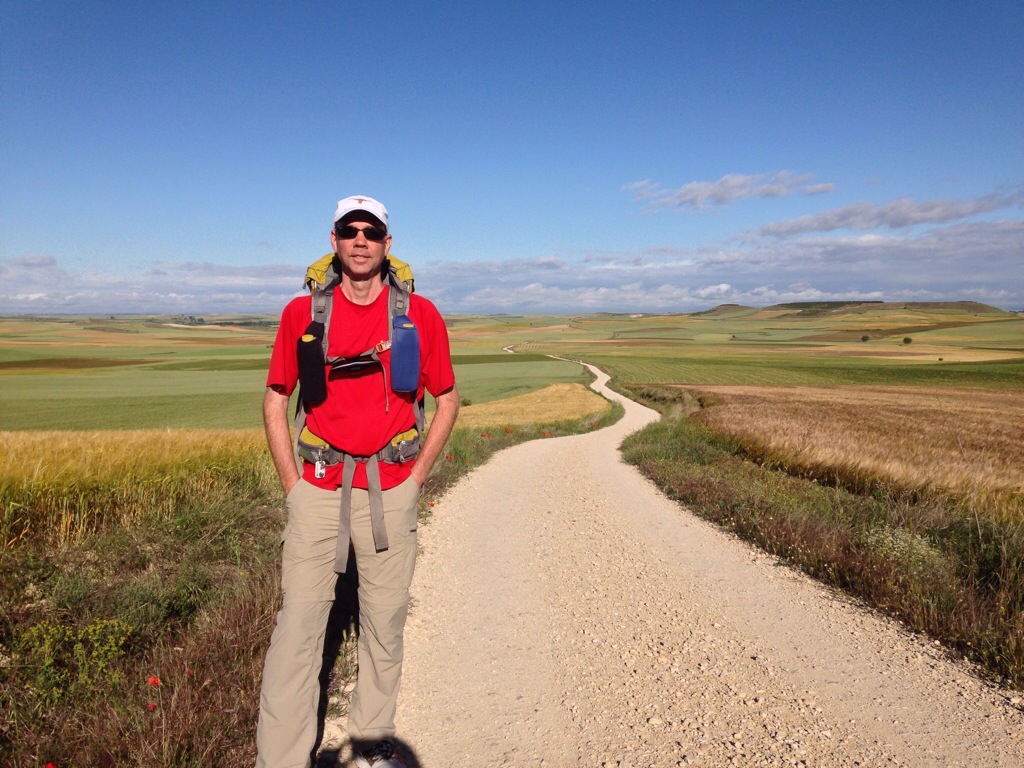
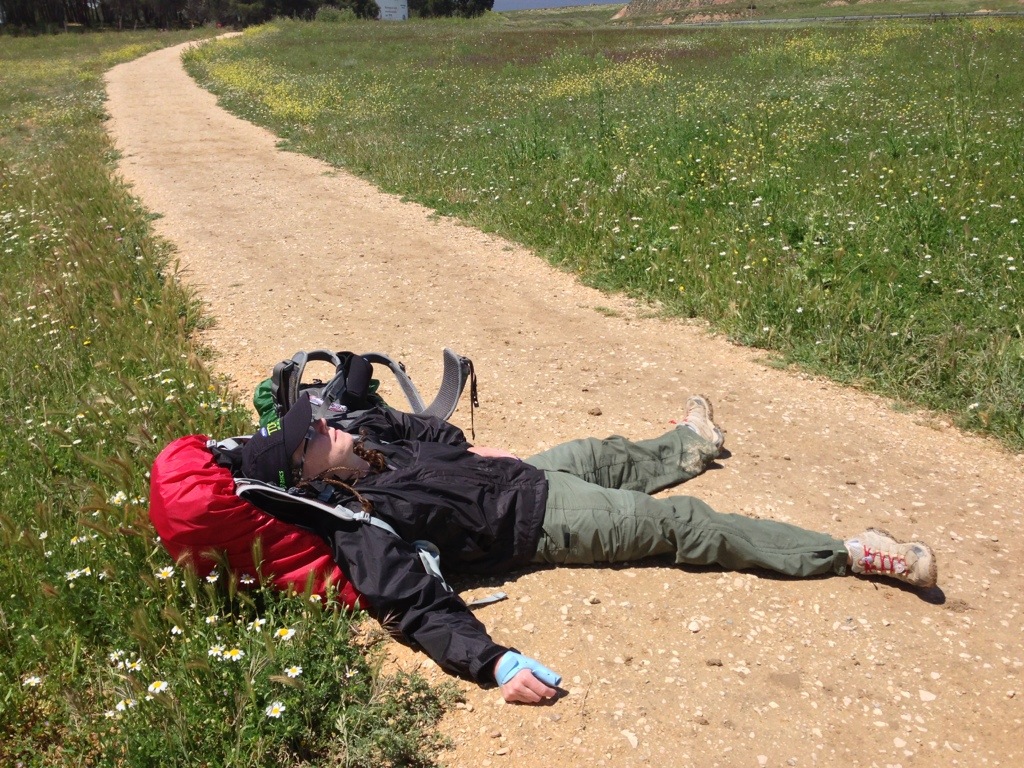
 We did the first 11 days of the Camino starting on May 20th, 2013 and it rained on us 10 out of the 11 days. Every morning the temperature was 45-50° F (7-10° C) and the highest temperature we ever saw was about 65° F (18° C). Both the rain and the cold were quite unusual for that time of year. From looking at the weather from previous years, we were expecting only a couple of days of rain and much warmer temperatures.
We continued in June of 2014, and finished the Camino in June of 2015 — we didn’t see a single drop of rain either year. When we got to the Meseta, in the middle part of the Camino, we were actually using a lot of sunscreen, and we started getting up earlier so we could finish the day before it got really hot in the early afternoons.
After the first year with all the rain, I got a better rain jacket with “sealed seams” over the zippers and it held up much better in the training walks we did in the rain before leaving that year. But I found that after walking in the rain for a couple of hours, everything got soaked no matter what I wore, so zip-top bags for your phone and documents are essential.
We didn’t take rain pants the first year because we were concerned about the weight. That turned out to be a big mistake, so we brought them in 2014 and 2015 — and never got to use them. :-) But we learned that you don’t need anything fancy with rain pants — even the lightest material without zippers or pockets work great at keeping your legs dry, and they also make a big difference in keeping your legs warm in a cold wind. Just get something lightweight and don’t worry if they don’t have perfect coverage.
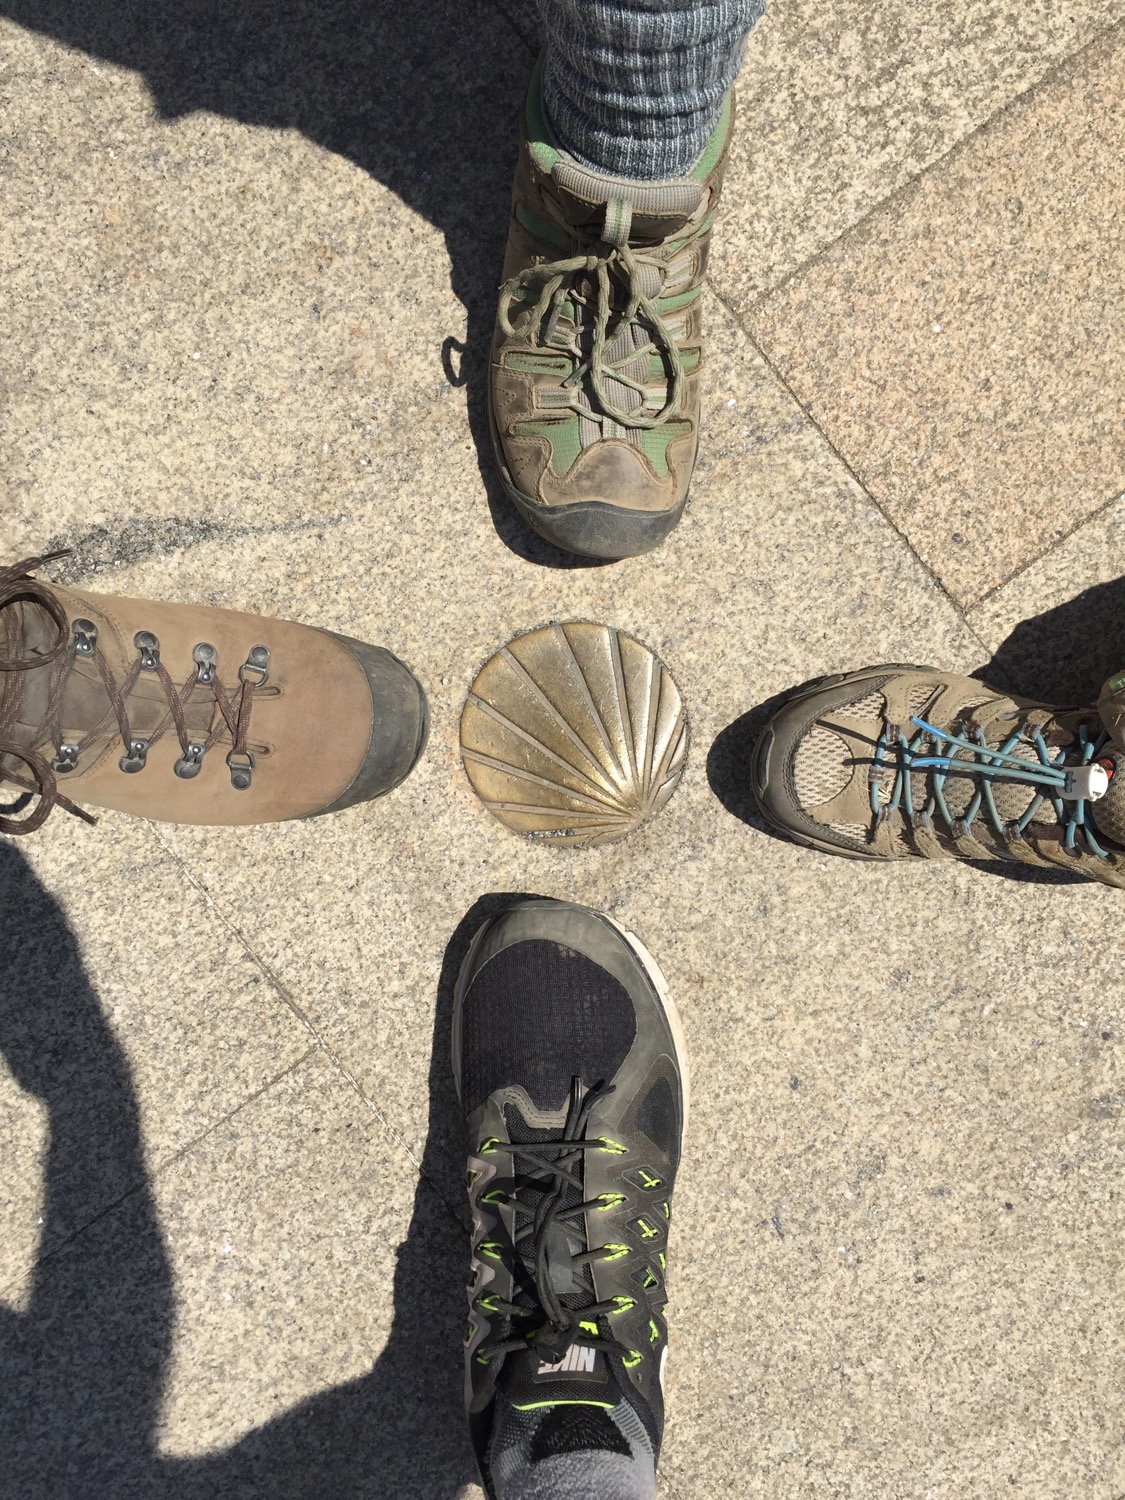 I wore running shoes for the entire Camino but the other three people I was with wore some form of boots or hiking shoes. Just about any kind of footwear is fine, and there are very few places where it makes any difference at all, so wear what works for you. I really loved my running shoes (and highly recommend them) but they became a real problem in that first wet year because of all the mesh on the sides of the shoes, and the fact that I only had about an inch of clearance above the mud and cold water — anything above that came directly into my shoes. In the following years, I took waterproof running shoes, which provide about the same clearance as low-top boots. Be sure the sides of the tongue are sealed all the way to the top of the laces. Some people feel that waterproof shoes are hotter, but I didn’t have that problem. That might be more of a problem in the summer months though, but waterproof shoes may not be as necessary at that time of the year.
All feet get soaked in a heavy rain, regardless of whether you’re wearing shoes or boots, or whether they’re waterproof or not. There were lots of times though where it wasn’t actually raining but we had to walk through endless “mud swamps” in the forest, and having a few inches of clearance above the mud and water make a huge difference. I spent a lot of time that first year tip-toeing around mud and water, whereas I could have walked straight through it if I’d had even low-top boots or hiking shoes, or waterproof running shoes.
A lot of people use rain ponchos instead of a rain jacket and backpack cover. We never tried ponchos, but I can see how it might be good to cover both yourself and your pack all at once, instead of allowing the front straps of the pack to get wet with a jacket. But we never had a problem with anything in the pack ever getting wet, and we liked having our hands free instead of being under a poncho. If you use a pack cover, make sure it fits tightly — mine even had a strap to go around the pack to keep it in place. I don’t know much about ponchos, but one thing I noticed was that some of the really long heavyweight ones went over the pack and then came all the way down to the back of the person’s calves, whereas others were short and flimsy, and blew around in the wind a lot and didn’t cover the back of the person’s legs at all. It’s all about trade-offs I guess.
Alternate Footwear
 I didn’t fully believe it when I read it on other people’s blogs, but alternate footwear really is essential. At the end of the day, you need to have something to put on that’s dry and somewhat clean (albergues usually ask you to leave your wet, muddy boots in a special area outside of the sleeping areas). If you need to go out for food, or to buy something from a pharmacy, you don’t want to have to put wet boots and socks back on.
Because of my foot problems, I’m not really able to wear flip-flops, and once I realized that supportive sandals weigh about the same as running shoes, the decision was easy — I took two pairs of almost identical running shoes. In the second and third years, the second pair was waterproof (I used the Brooks Ghost GTX shoes with Gore-Tex).
Other Clothing
Shirts: I took two synthetic shirts — one long sleeved and one short. With both shirts, the rain jacket, and the backpack on, it was just warm enough for temperatures in the mid to upper 40s F (7-10 C) (and if we were walking uphill, I wanted to take something off). But having only two shirts (or two of any piece of clothing actually) means that it’s imperative that at least one of them stays dry at all times, because you always need something dry to change into at the end of the day. I didn’t take a fleece because of the weight — I was usually fine without it during the day but there were moments when we were walking around town after sunset where it would have been a nice luxury.
Pants: I had two pairs of zip-off synthetic pants, which worked out great. Even though they were very lightweight, my legs were usually the warmest part of my body because of all the walking, and rain pants could compensate for the cold and windy extremes. If my legs did get wet, I could change into the second pair in the evenings.
Underwear and socks: I had three pairs each. I only ever needed two sets of each, but they didn’t weigh much, and I liked having the extra pair just in case I got soaked twice in one day.
Hat: I had a baseball-style cap that I wore every day. It was a made of a lightweight mesh that was just enough to keep me from getting sunburned but still very breathable. It had a bill on the front to keep rain out of my face and I pulled the hood of my rain jacket over the top of my hat to keep my head dry. If you’re thinking of taking a hat with a brim all the way around, make sure the back doesn’t hit the top of your backpack and drive you crazy.
Cotton is evil
All of your Camino clothing should be synthetic, so it can dry quickly overnight. Sometimes you may be able to lay things over a radiator, and many albergues even have washers and dryers now (for a few Euros) but there will be times when things just have to air dry, and synthetic clothing will almost always be dry by morning. And of course synthetic is much better at dealing with sweat against your body than cotton is.
Be careful about dryers and synthetic clothing though — especially if you pay someone to do your clothes for you. Set the dryer on “Syntetico” to make it use a slightly lower temperature, and check the clothes after about 10-15 minutes. It doesn’t take long.
The exception to the no-cotton rule is maybe something like a bandana or a small travel hand-towel. I sometimes just wanted something that would actually absorb water, especially in rainy weather. It’s a nice luxury but not critical.
Walking Sticks
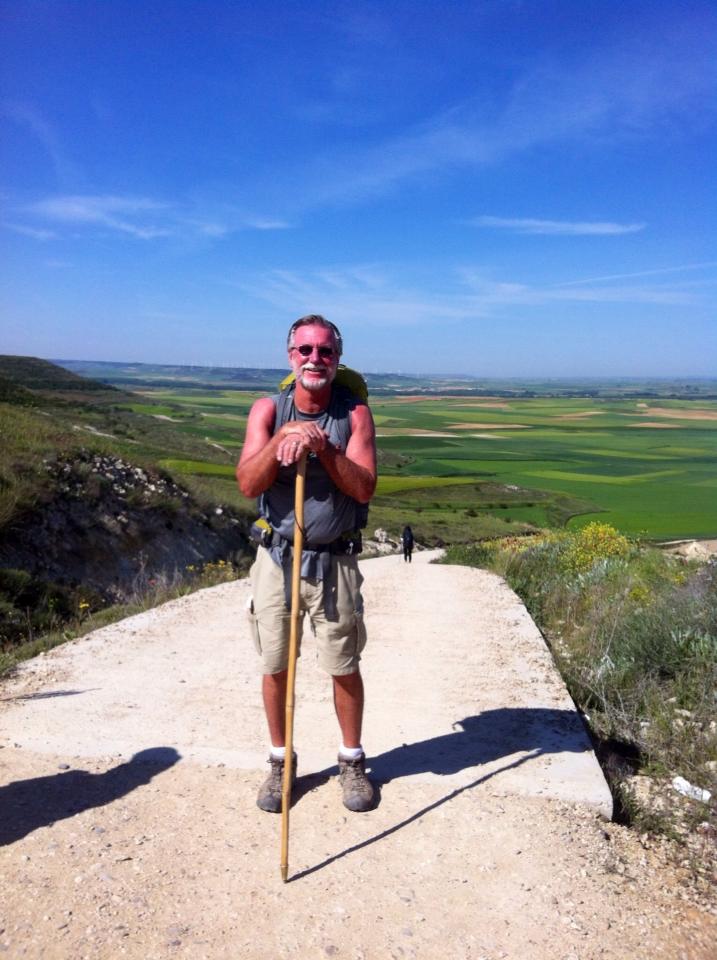 We didn’t use them, so I can’t give an informed opinion on them. People that use them say they take weight off the back and knees, and add stability when stepping over things or when on slippery surfaces. We decided to go without them because we didn’t want to have to keep up with them all the time, and all of our training was without them. But talk to the experts if you’re thinking about using them. I’ve heard people say there are advantages to having two vs. just one, and the lightweight metal sticks are usually adjustable (for going up or down a hill) and collapsible when not being used (as opposed to a heavy wooden stick that isn’t). The hand grips can also be made at an angle to help reduce strain on the wrists.
Pack Weight
A good target for the overall weight of your pack is about 10% of your body weight. That includes everything inside it, along with any food and water you’ll be carrying. That’s a tough mark to hit though, especially if you’re not very heavy, so do your best and don’t sweat it too much if you’re over. If you’re going with a child though, you may need to carry some of their stuff to keep them from being overloaded. I found that moving items from my pack to my pants pockets (extra cargo pockets are helpful here), or the front straps of my pack, made a big difference in how much weight I felt like I was carrying — it’s all about distributing the weight.
One of the hardest parts of planning for the Camino is getting your pack weight down. Except for medical and emergency supplies, try getting rid of items you find yourself thinking that you “might need”. Usually you’ll find that you either never actually use it, or you deal with the problem some other way the one or two times you could have used it. Use a digital kitchen scale and weigh each item you plan on taking. Consider changing stuff sacks and hard plastic containers to zip-top plastic bags that weigh a lot less. All those little items add up to more than you might think. After you’ve gone over everything you’re taking multiple times and you still feel like it’s too much, try showing each item to someone else and explain to them why you can’t do the Camino without it. ;-)
Other Items
- Hand-washing soap for clothes: We took a small bottle of Campsuds, which is highly concentrated and worked great.
- Towel: I took an Outgo Microfiber Towel, which comes in several sizes. Kathey had one that felt more silky — she liked it but I preferred the more textured type. I had a love-hate relationship with my towel throughout the Camino — I always wanted a larger, thicker one, but never wanted to carry the extra weight.
- Clothes pins: We took a few small plastic ones each, although many albergues had them.
- Flashlight: We took a tiny Olight i2 LED flashlight the first year, but hardly ever used it. The light on my phone worked on the few occasions I needed it, and we never walked in the dark because it gets dark quite late in the summer. If you’re going in the hot months and plan on walking in the dark before sunrise though, or you’re going in the darker days of winter, a headlamp might be good.
- Knife: We took a very small Swiss Army knife and used it occasionally for slicing bread, cheese, or sausage. It was a luxury that could easily be skipped though.
- Safety pins are occasionally useful for pinning damp socks to the outside of your pack for drying.
 We each took a different credit card, just so we had one as a backup, and we each had an ATM card. European cards have had chips on them for quite a while but we never had a problem using a card with a magnetic stripe. We also never had a problem using our ATM card, but I’ve heard there are a few select cards that don’t work in Spain — check with your bank and they should know. They can also tell you what their fee will be each time you get money out. It’s a trade-off between getting money out more often and paying the fees, vs. getting it out less often and having to carry it. We divided the money between the two of us just for safety, and usually had enough for a few days at a time.
Other notes
- Albergues operate almost exclusively by cash. Only larger hotels accept credit cards.
- Travelers checks are outdated and difficult to deal with these days.
- We wrote down the account number and phone number from the back of our credit cards so we’d know how to contact our bank in case a card was lost or stolen. They can usually express-mail a new card to you, but it may take a couple of days.
- We never exchanged money before leaving home because the exchange rates are usually better in the foreign country. Also because it’s so easy to find an ATM machine in the airport just after you arrive. Even the Biarritz airport has one, next to the bar/restaurant. We avoided taking very much local (US) currency with us, and by our third trip there, we didn’t take any at all.
- We notified our credit card company and bank to let them know which foreign countries we’d be in and when, so they didn’t block the cards because of suspicious activity.
- We found out before leaving how much cash we could get out with our ATM card — there are usually limits for each transaction as well as a total amount per day. The ATM machine itself will usually add a fee as well, and may have its own withdrawal limit.
- When getting cash out, it’ll give you Euros, which is what you want, and it’ll ask if you want the transaction done in Euros or in your local currency back home (US dollars, for us). It’s almost always better to do it in the local currency (Euros, in Spain) and let the conversion rate be determined by your bank back home. If you do the transaction in US dollars, you’re letting the local ATM machine determine what conversion rate and commission fee to use, which will almost certainly be worse than what your own bank will use.
- If you’re traveling with another person and you each have a credit card from the same account, you’ll usually have to have both cards canceled if one is lost or stolen. ATM cards, however, can often be canceled separately, without affecting the other card. It’s good to know in advance how your cards work.
Technology: Internet, Phones, and Cameras
 We each had an iPhone, and we had a dual USB charger that allowed us to charge both phones and only take up one outlet. That was it for tech gear. Nothing else to charge and nothing else to worry about getting lost or stolen.
iPhones from the 6S and above have really good 12 megapixel cameras and we used them for all our photos and videos. After returning home, I had several of our photos printed on large 13″ x 19″ paper, and they look every bit as good as photos I’ve taken with more serious cameras.
I occasionally wished I had something larger like a 7″ tablet, to make typing and editing on the blog easier. But since I also wanted to have my phone, it didn’t make sense to carry two devices, and I got used to typing on the iPhone fairly quickly. I would never take a netbook or laptop though, because of the size and weight (and having to take an extra charger and cables).
Be sure whatever charger you bring supports 220 volts. If it doesn’t, get a different charger instead of trying to mess with a heavy power converter. The charger will usually say which input voltages it supports, often printed on it in tiny numbers. For example, my iPhone charger says, “100-240V”, indicating that it supports any voltage from 100 to 240. Also bring a pin adapter to convert the pins from your country to the two skinny round pins that Spain uses (there’s a fatter version also, for other countries). You don’t need the three-pin grounded version. The dual USB charger I mentioned above comes with several pin adapters, one of which fits the outlets in Spain.
One of our phones had a Spain SIM card in it so we could make emergency calls if needed (the number in Spain and France is 112, not 911), and to call ahead to private albergues to make reservations occasionally when we were getting in late. (Only the private albergues take reservations though.) We had a data plan on the SIM card also, but if you’re not sure you’ll need it while walking, you might just plan on using the WiFi (pronounced “wee-fee” in Spain) at the albergues. The guide books list which albergues have WiFi, but it’s usually only at the private ones. Some mobile carriers in the U.S. are starting to have worldwide data roaming now, but be sure you understand the costs from your carrier if you plan on enabling data roaming on your phone, or if you plan on taking your SIM card from home for making or receiving phone calls while in Spain.
We posted daily to this blog from our phones. If you plan on doing something similar, I suggest getting everything setup before you go as far as posting, uploading photos, and especially writing posts while offline, if the app supports it. We used the official WordPress app, and it supported composing posts while offline, but only with text — it required an internet connection for including photos. We later used one of several third-party apps that supported offline posts with photos, and it worked pretty well. Apps are always changing so you might check to see if the official WordPress app supports it now. Figure out what size photos you’ll be uploading, and how they’ll look on the blog, before you go.
I’m really glad we did the blog, but I understand it’s not for everyone. I love being able to go back and see what I wrote on a particular day, and view all the photos. But it did take up some time every evening when I could have been doing something else. If a blog sounds like too much work, you can always use social media sites like Facebook, Instagram, Twitter, etc. to communicate with people back home. Or skip it altogether, and do your Camino off the grid, not having to worry about finding WiFi at all.
 We used A Village to Village Guide to Hiking the Camino de Santiago all three years and loved it. It has great maps, and directions that make sense. I think its descriptions of which amenities various albergues have is better than other guides I looked at, and it was especially good for finding places with WiFi. I realize that this may or may not be important to everyone, but since I was posting to a blog every day, it was something I cared about maybe a bit more than most.
The other book that many people use is John Brierley’s very popular A Pilgrim’s Guide to the Camino de Santiago. It’s a bit smaller and lighter, and it’s been around for quite a while, with updated editions released periodically. The descriptions are a bit more terse, and often have a spiritual tone to them.
The Pyrenees
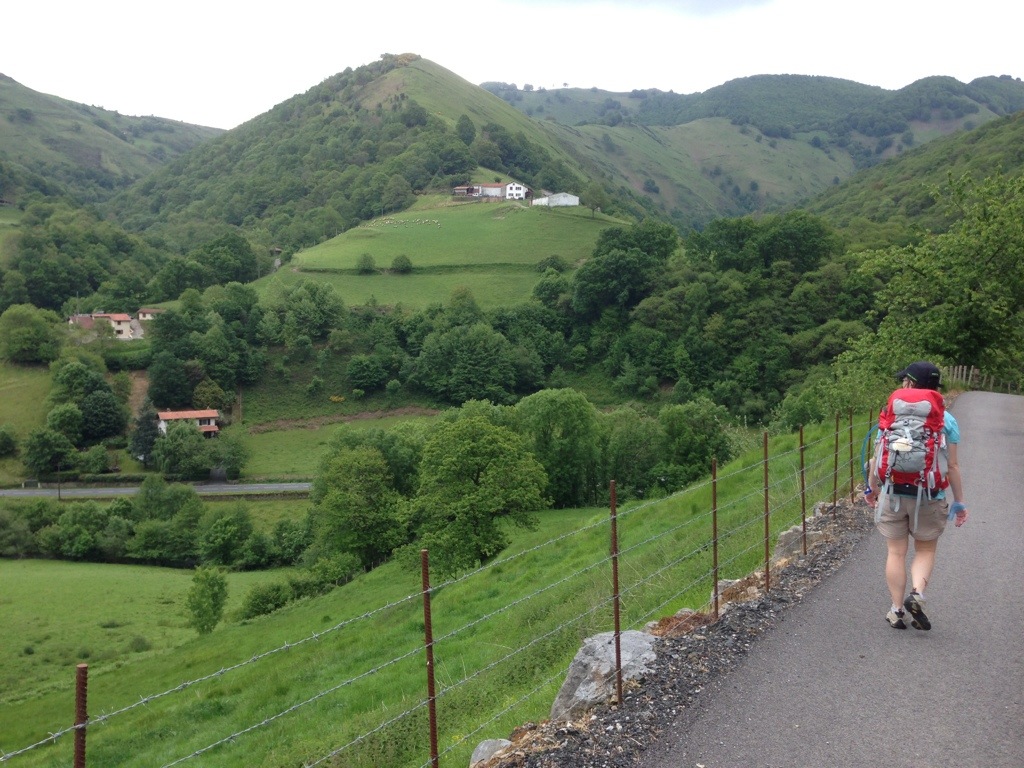 If you’re starting in SJPdP, your first task is getting over the Pyrenees mountains on your way to Roncesvalles. Although the higher “Napoleon Route” used to be open all year, it’s now officially closed from November 1st through March 31st due to safety concerns (article in Spanish here, auto-translated to English here). Even at other times of the year, it’s often covered in snow and quite dangerous to travel — it was unofficially closed even as late as May 20th when we started in 2013, so we took the lower “Valcarlos Route” instead.
If you do take the higher Napoleon Route, you may want to stop part of the way and stay the night at the albergue in Orisson. It’s less than half way up the mountain, but it makes for a shorter second day to Roncesvalles and it could be a nice stop if you’re still jet-lagged. Send a reservation request via their web site and they’ll send you a PayPal invoice you can use to pay in advance.
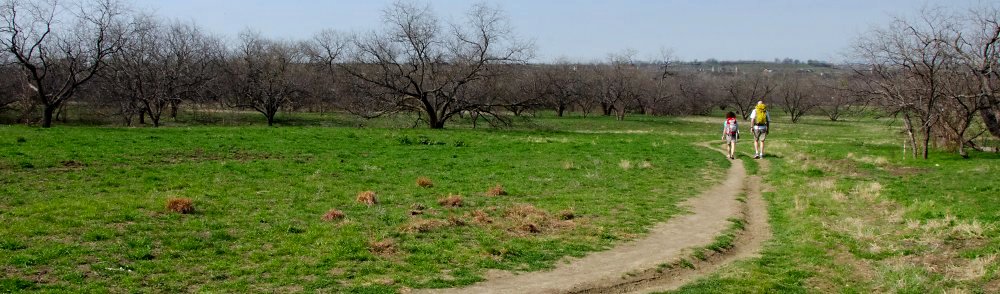
If you take the lower Valcarlos Route, I recommend stopping half way and staying the night at the albergue in Valcarlos. Send them an email using the address on their web site. They take reservations and don’t require advance payment. Although this route doesn’t have the panoramic views from the top of the mountains, it’s still stunningly beautiful, and you can see photos of it (including the signs leading out of SJPdP) in our blog post of that day. Note that there are no water fountains from Valcarlos to Roncesvalles so be sure to carry enough water for that section.
Average Distances and Rest Days
 In our first year, when we had so much rain, we only averaged about 18.5 km (11.5 mi) per day. In our second year, it was 22.7 km (14.1 mi) per day, and in the last year it was 20.9 km (13.0 mi) per day. It took us 38 walking days total, which is a total average of 20.5 km (12.8 mi) per day.
I often tell people that if you don’t know how far you can walk each day, a good target is an average of about 20 km (12.4 mi). You can of course walk any distance you like, and you’ll probably change it up on different days according to how you feel and how the towns are spaced out. But I often heard other pilgrims say that 20 km worked well for them and 25 km (15.5 mi) was too much. Everyone’s different, and only you can know what you’re capable of (but it’s probably more than you think). If you divide 780 km (SJPdP to Santiago) by 20 km, you get 39 walking days. If you take four rest days (I’d suggest a day each in Pamplona, Burgos, León, and Molinaseca), it’d be 43 days total, which is a good place to start. (Remember, we took a year off between each of our three segments.) Then maybe add in some extra in case you need it, or for time celebrating and decompressing in Santiago.
 We trained a lot. Probably more than most people. But we’re both runners, and we know how important training is before a race. Think of the Camino as doing a half marathon every day, and train for it in a similar way, but walking with a pack instead of running. You can, of course, just show up and start walking without any training (many people do) but you’ll pay for it during the first couple of weeks with blisters, cramping muscles, a sore back, and screaming knees and hips.
If you can do the first week or two, you can probably do the whole Camino. Don’t be afraid of the total distance. The hard part is getting to the point where you can walk long distances multiple days in a row. After that the physical part is mostly the same every day.
Before each of our first and second years, we trained for 17 weeks leading up to the Camino, building up our hours each weekend. We started with no packs at all, then wore the packs empty, and then slowly added weight each week until we were walking with the same weight we planned on taking. It takes some time to learn everything about the pack, and to figure out which strap to adjust when something hurts. We added a half hour each weekend and eventually got up to a 4 hour hike. We then dropped back to just 2 hours, but on both Saturday and Sunday, and worked our way up a half hour each weekend again until we were at 4 hours on both days. We then dropped back to 2 hours again, but three days in a row, eventually making it up to 4 hours, three days in a row.
That third day was pretty tough to do because of work schedules, but we thought it might be important because muscles tend to hurt more a couple of days after a hard workout. But we changed things for the third year, and only walked two days in a row instead of three, and didn’t notice much difference in the outcome.
We did, however, change the schedule in the third year to get up to 14 miles of walking, two days in a row. That worked out better than just walking a set number of hours, because it’s more like the Camino where you can take as many breaks as you want but it just makes the day longer.
I had considered taking things like a deck of cards, or other fun things that might help us pass the hours in the evenings. But just before we left, I was a bit panicked about the weight and got rid of several things, including the cards. To be honest, between the time it took to do the blog posts and just being so tired in the evenings in general, we wouldn’t have used the cards a single time anyway. We took a couple of e-books on our phones, and they were nice to have sometimes. But a walking pilgrimage is quite different from a camping trip, and the packing priorities on the Camino are all centered around walking.
Theft is rarely a problem among fellow pilgrims. However, there have been reports of people pretending to be pilgrims and staying at albergues in order to steal mobile phones, often left unattended while charging. Never leave electronic devices charging in another room, and keep a close eye on them at all times. When we arrived at an albergue, we’d plug in both phones and then one person would shower while the other stayed near the beds and kept watch. Hospitaleros (volunteers at albergues) say that unattended mobile phones are the most commonly-stolen item on the Camino.
Violent crimes are even more rare along the Camino, but there have been incidents, so walk with another person if you feel uncomfortable. Even if you’re traveling alone, you’ll almost always find others doing the same.
More current information is available on the U.S. Department of State’s information page on Spain.
If you’re from the U.S., you can notify the U.S. Department of State and let them know where you’ll be and when, and how to contact you if an emergency situation occurs while you’re there.
 We wake up around 6 a.m., or whenever everyone starts moving and making noise. We pack up, eat something, brush our teeth, and hit the road by 7. The albergues usually want everyone out by 8:00 so they can get everything ready for the next set of pilgrims coming in that afternoon.
After an hour or so of walking, we stop at a town and have breakfast at a cafe along the path, usually with lots of other pilgrims doing the same thing. Coffee or espresso, chocolate croissants (“napolitanas”), or maybe a full plate of eggs and bacon if we’re really hungry. Then we’re off again, leaving the town and back onto a dirt or gravel path until we come to the next town in an hour or two and the sidewalk starts again.
Around noon, we stop somewhere for a longer break and have lunch. Some people skip lunch and forge ahead, and then eat after they check in at an albergue around 2 p.m. We like breaking up the day, even if it means getting in a bit later.
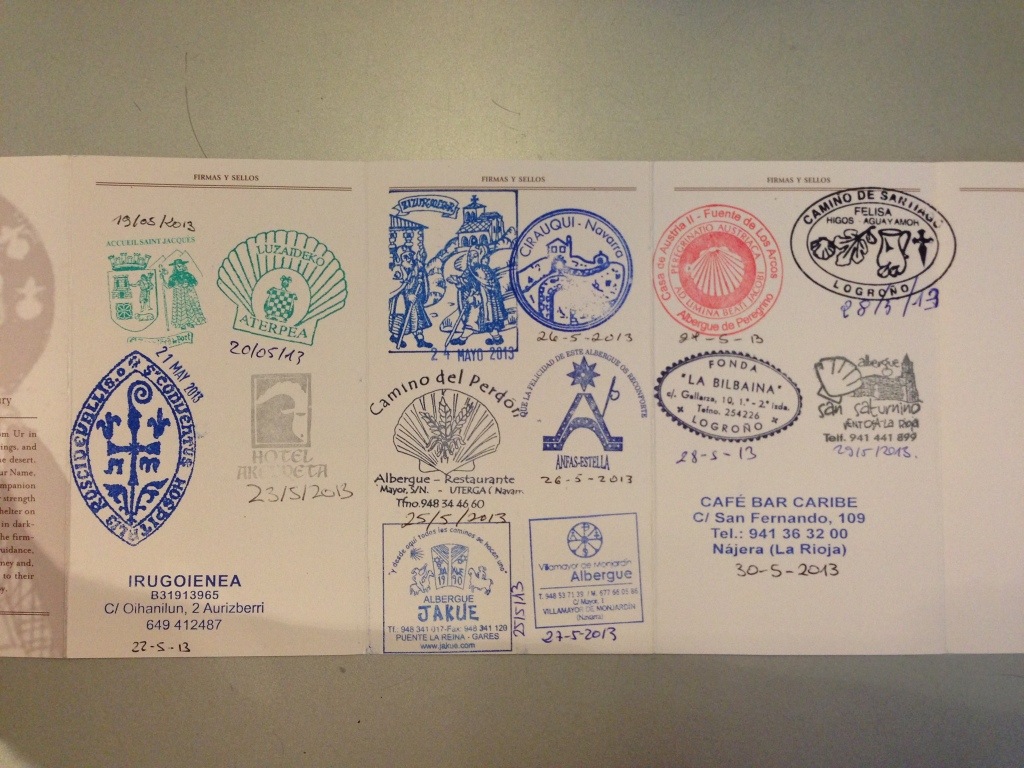 We arrive at an albergue around 2-4 p.m., get checked in, and get another stamp in our Camino passports. One of us hits the shower while the other relaxes in the bunk beds or works on a blog post, maybe talking to new people and finding out where they came from this morning and where they’re headed tomorrow. They’re from countries all over the world, and some speak more English than others, but they’re all doing the same thing we are and we have more in common than it might seem.
After showering, we put on clean clothes and our second set of footwear. We’ll sleep in these clothes tonight so we’re ready to go tomorrow morning without showering or changing clothes. We wash today’s clothes out back, either by hand in a sink or using their machine for a Euro or two, and hang up the clothes on a line or occasionally use a dryer.
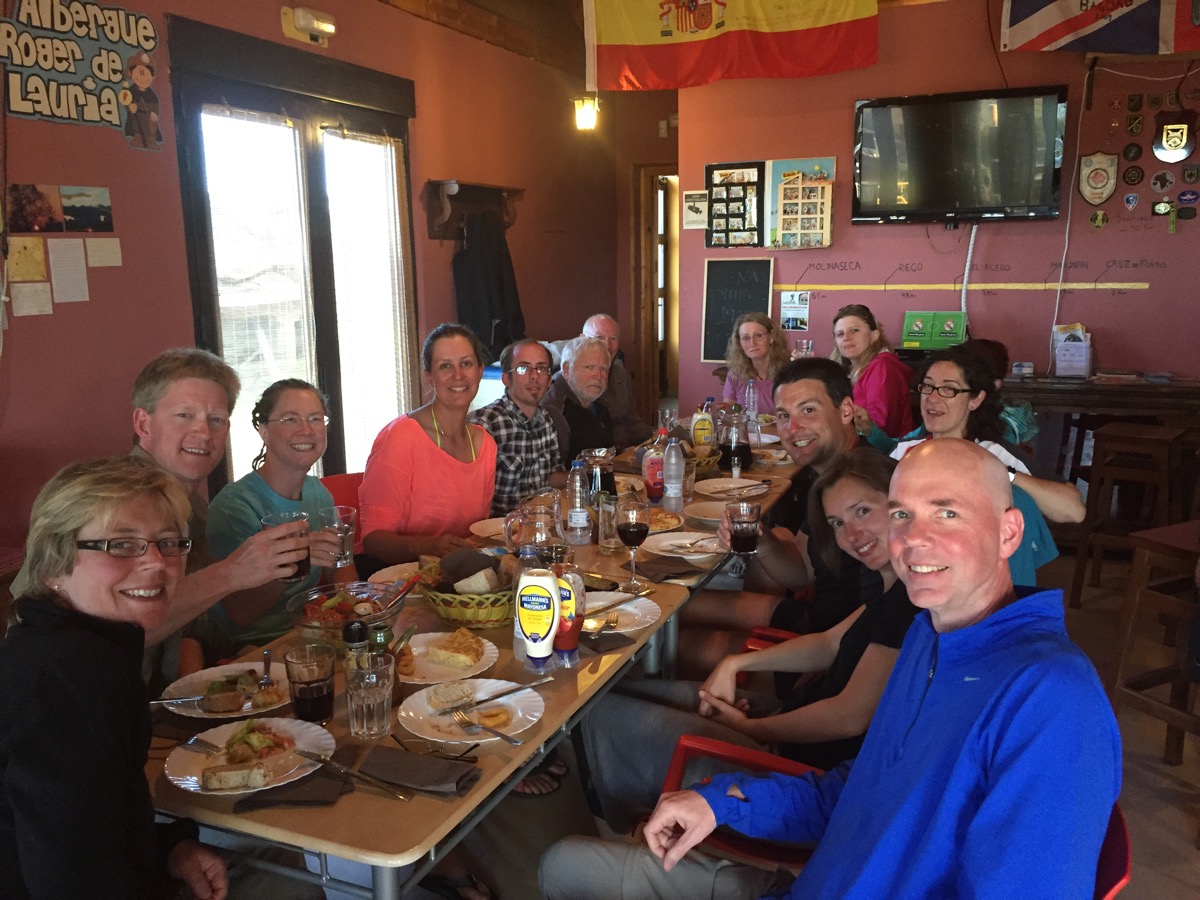 Then we get something to eat, either at the albergue (if they provide a meal) or somewhere in town. We’re walking in sandals or flip-flops, or maybe a clean pair of running shoes that we use in the evenings. We’re tired and sore, and walking slowly. We eat a big dinner and talk about everything that happened during the day, and re-live all the photos we took. We study the guide book and figure out where we’re going, both tomorrow and the next day, since the albergues aren’t always spaced the same distance apart and we may want to stay in a town that’s smaller or larger.
We check out the cathedral, which it seems like every town has, or maybe make a stop at the pharmacy or a shop to get snacks for tomorrow.
By 8:00 p.m. people are brushing their teeth and moving toward the beds, maybe checking email on the WiFi or reading a book.
By 9:00 p.m. the lights are out.
By 9:01 p.m. someone’s snoring. If it’s not me, the earplugs go in. ;-)
By 9:02 p.m. everyone’s unconscious. The long day is done.
We start the next day fueled up and ready to go, a bit stiff but mostly feeling strong and excited about the day. It’s amazing what a night’s sleep has done to repair all the sore muscles. We continue the path through town and check out all the statues and fountains, enjoying the quiet streets and the beautiful sunrise, always at our backs. This is our time, our path, and the town belongs entirely to us as the locals sleep in their homes.
Buen Camino! Ultreia (onward)! Let’s go!
 Ready for the story? Our Camino starts at The Beginning.

This blog was very helpful to me. I am planning my first Camino for Spring 2016 and not sure what to expect.
Thank you for taking the time to write this blog. I love to blog myself, so I understand the amount of time and effort it takes to document a journey. And in your case, I know you documented for yourself, however, Kathey, your family and your friends and Camino friends appreciate it. So, kudos to you!! It was a great read 👣🚶🏻